


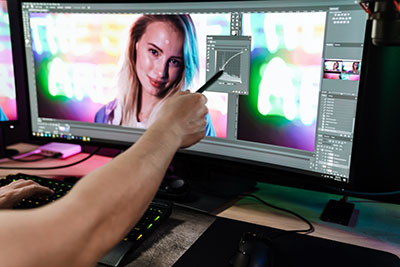
 First, I’m going to open up Photoshop, and just pick a random image. This is a great photo, but there are some areas in this image that I think can be improved. There are a few blemishes here that we could fix to help the photo look even better.
So, to get started, you’re going to grab what’s called the polygon lasso tool, and you’re going to use it to create a marquee. Just click around the problem area or blemish that you want to make your marquee around, then click again to close the loop. You’ll notice how a circle pops up — just click and close that.
Now, we’re going to go over to our layers menu. Hold down alt, or option, double-click, and it’s going to unlock it. You’ll notice the little lock icon go away, so now you have an open layer. Go ahead and close out that menu, and go back to that little marquee you created. If you just roll over that spot, you’ll see a little box come up. Double-click or right-click that marquee, and it will open up a dialog box.
Now all you need to do is hit “fill.”When you click on “fill,” the default is usually going to be content aware. You can also add color — foreground color or background color — but what we’re going to do today is content aware. So, if content aware is already the default option, you don’t need to change anything. Just going to hit “okay” — and boom! Now, if you hit command-D, or control-D, you can remove the marquee. As you can see, that blemish in your image is now gone!
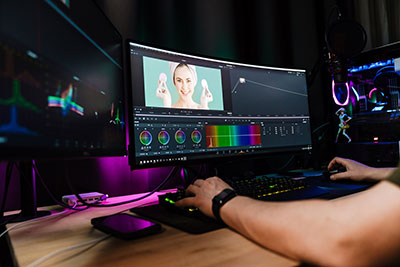 Now, I want to do something a little more complicated, because I want to make sure that you know how to do this the right way. Find something that’s a little more complicated to remove from your image. For me, I want to remove this reflection in the window. To do that, I need to break it into smaller sections.
So, just like before, grab your marquee tool and use it to click, click, click, all the way around the spot you want to start with. Double-click to grab that spot, then hit “fill.” This doesn’t always work, but most of the time it works very well. Hit “okay,” and boom! That got rid of that spot. Now, move on to the next section: click, click, click.
Didn’t work so well? You’re going to have to adjust it a little bit. So, what we’re going to do now is swap this color, using the stamp tool. I wasn’t actually planning on showing you the stamp tool, but the content aware tool doesn’t always work for complicated images, so you have to know how to work around that.
To start, grab the “clone stamp tool.” You may need to make your brush smaller. Then just hit “alt,” and select a spot. Use that tool to click and drag, just like the paintbrush tool. Click and drag, and boom! You can swap out that problem area with the surrounding content. Now, on my image, that looks much better. I’ll move on to the next section, and do the same thing again with the content aware tool.
 You may notice that the area you’ve touched up doesn’t look 100% accurate. Even if your blemish or problem area is no longer there, it might not look exactly like you want it to, because that tool has swapped some of the area around the blemish and may be pulling some other parts of the image in. I’m going to show you how to fix that.
Select a section of your image that you want the rest of the area to look like, double-click, and hit “layer via copy.” Now you’ve copied that layer. Click and drag, and you can put it over any problem areas that you want. You can even copy it again — hit command-J to make a duplicate of it and do the same thing. You can also flip it horizontally to make it look more realistic.
There we go — the reflection I wanted to get rid of is no longer here. Now, to wrap it up I’ll condense these all: hit command-E, select them all, and then command-D makes it all one layer. Now you can see the original image, and the blemish of problem area you wanted to get rid of is no longer there. Everything should look really clean.
So, that’s the content aware tool. It’s a really cool tool, and really helpful for cleaning up your photos. I also showed you the stamp tool — you may need to play around with both of those to make your image as realistic as possible.
There you go, guys! Have a great day!